It was a Sunday afternoon, and I had a party starting in three hours. I stood in the chip aisle of my grocery store, reaching for that familiar plastic tub of French onion dip, the one with the bright label I had grabbed a hundred times before. And then something stopped me. I had just discovered caramelized onion dip from scratch the weekend before at my neighbor’s house, and I genuinely could not make myself put that tub in my cart. I put it back, went home, and started slicing onions. I have never looked back, not once, not even a little.
What Makes Caramelized Onion Dip from Scratch So Different
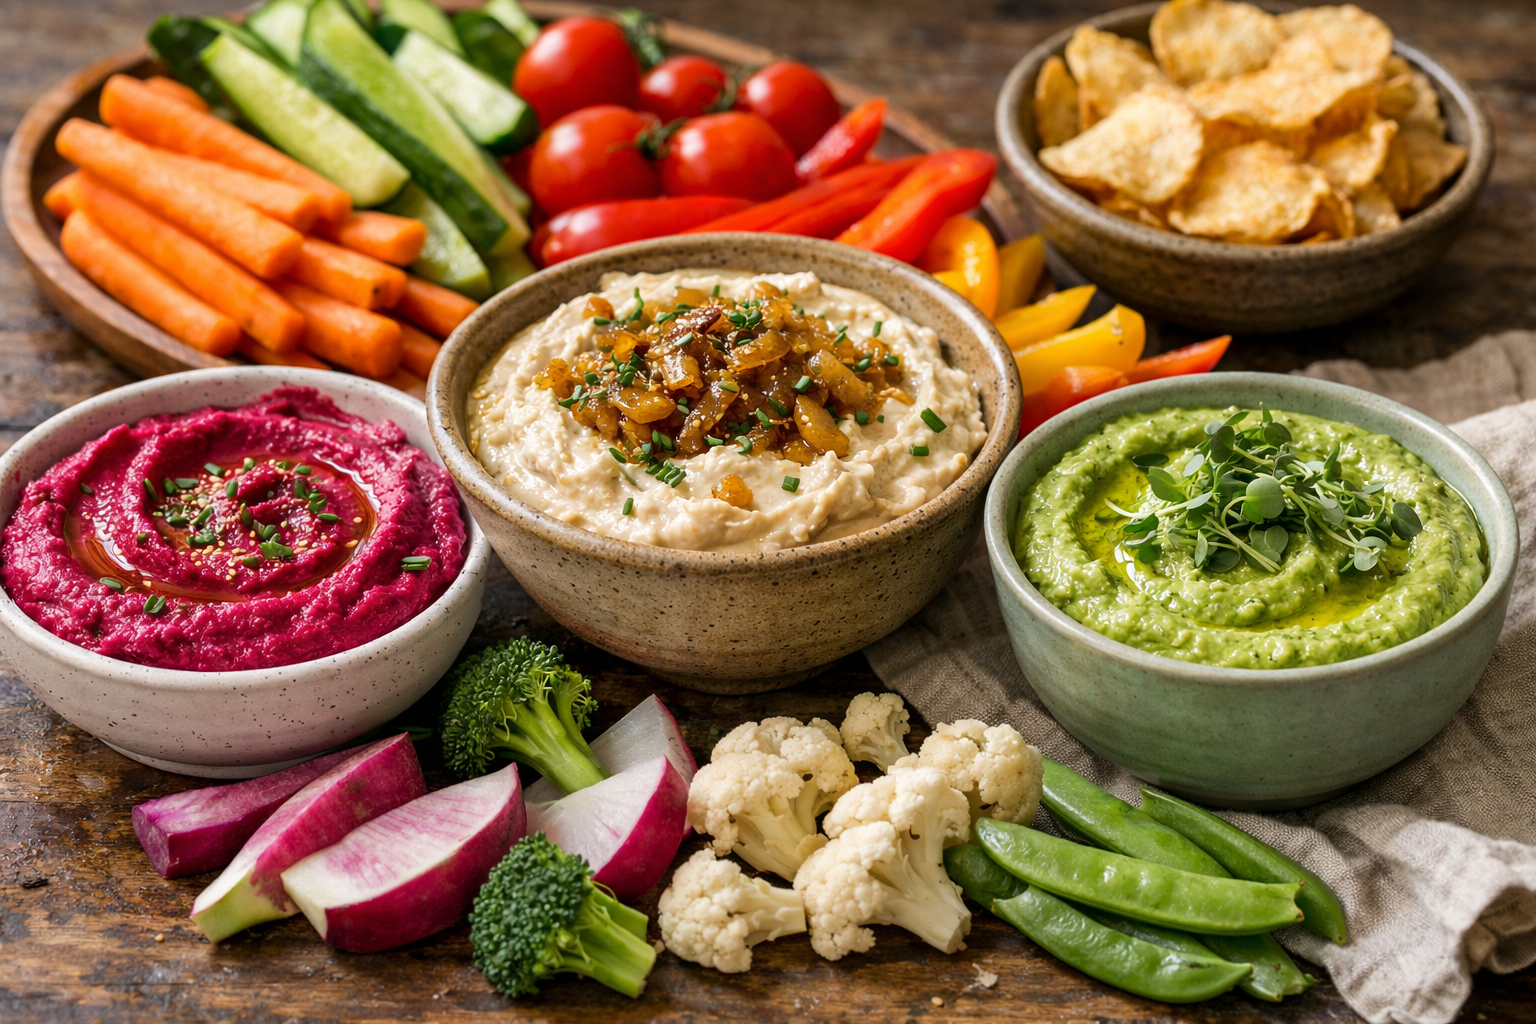
Here is the honest truth about store-bought French onion dip: it is not really made with onions in any meaningful way. It is made with dried onion flakes, onion powder, and a whole lot of stabilizers working overtime to approximate a flavor that real caramelized onions produce naturally and effortlessly. When you actually cook fresh onions low and slow in butter until they go completely soft, golden, and jammy, something almost magical happens. The sharp, pungent bite mellows out completely. The natural sugars develop into something deep and savory-sweet. The whole kitchen smells like a French bistro, and you start to feel like you actually know what you are doing in there.
That flavor — rich, complex, and layered in a way that no powder or flake can replicate — is what gets folded into a creamy base of sour cream and cream cheese to make this dip. The contrast between tangy dairy and those sweet, deeply savory onions is what makes people hover near the dip bowl all night. It is not subtle. It is not mild. It is the kind of dip that gets requested by name at every gathering from that point forward.
The Ingredients You Will Need
One of the things I love about this dip is that it is made from genuinely simple ingredients. Nothing obscure, nothing hard to find. The magic is entirely in the technique and the time you give those onions.
- 3 large yellow onions, thinly sliced
- 2 tablespoons unsalted butter
- 1 tablespoon olive oil
- 1 teaspoon granulated sugar (optional, but it helps the caramelization along)
- 1/2 teaspoon kosher salt, plus more to taste
- 1 teaspoon Worcestershire sauce
- 8 oz cream cheese, softened to room temperature
- 1 cup full-fat sour cream
- 1/4 teaspoon garlic powder
- Fresh chives, for topping
- Black pepper to taste
Three onions sounds like a lot, and it absolutely is before they cook down. After 45 minutes or so in the pan, those three giant onions will reduce to a soft, silky, deeply colored pile that fits easily in a cup. That reduction is where all the concentrated flavor lives. Do not be tempted to use fewer onions. You will regret it.
The Tool That Actually Makes Caramelizing Onions Feel Effortless
Slicing onions by hand for caramelized onion dip is… well, it’s a lot of onions and a lot of knife work. A good food processor turns what could be twenty minutes of tedious chopping into two minutes of pressing a button, so you can actually enjoy the caramelizing part instead of resenting it.
What works
- Chops four large onions evenly in under two minutes, and the uniform pieces actually caramelize better than hand-sliced ones.
- Small enough to live on the counter and pull out for just this one task—no guilt about owning another appliance.
- Cleanup is genuinely quick (the bowl and blade go straight into the dishwasher), which matters when you’re already covered in onion juice.
What doesn’t
- The 3-cup capacity means you’ll be doing this in batches if you’re feeding more than 6-8 people, which actually defeated the purpose for me the first time.
- It’s small enough that you have to pay attention—overfill it and you get unevenly chopped onions (or a mess), so it’s not a completely mindless tool.
The first time I made this dip without a food processor, I was halfway through hand-slicing the third onion and genuinely considered just going back to the store-bought tub. Then I borrowed my sister’s chopper for the next batch, and I never looked back. Grab the Hamilton Beach Electric Vegetable Chopper & Mini Food Processor and save yourself the tedium.
This post contains affiliate links. As an Amazon Associate, I earn from qualifying purchases at no extra cost to you.
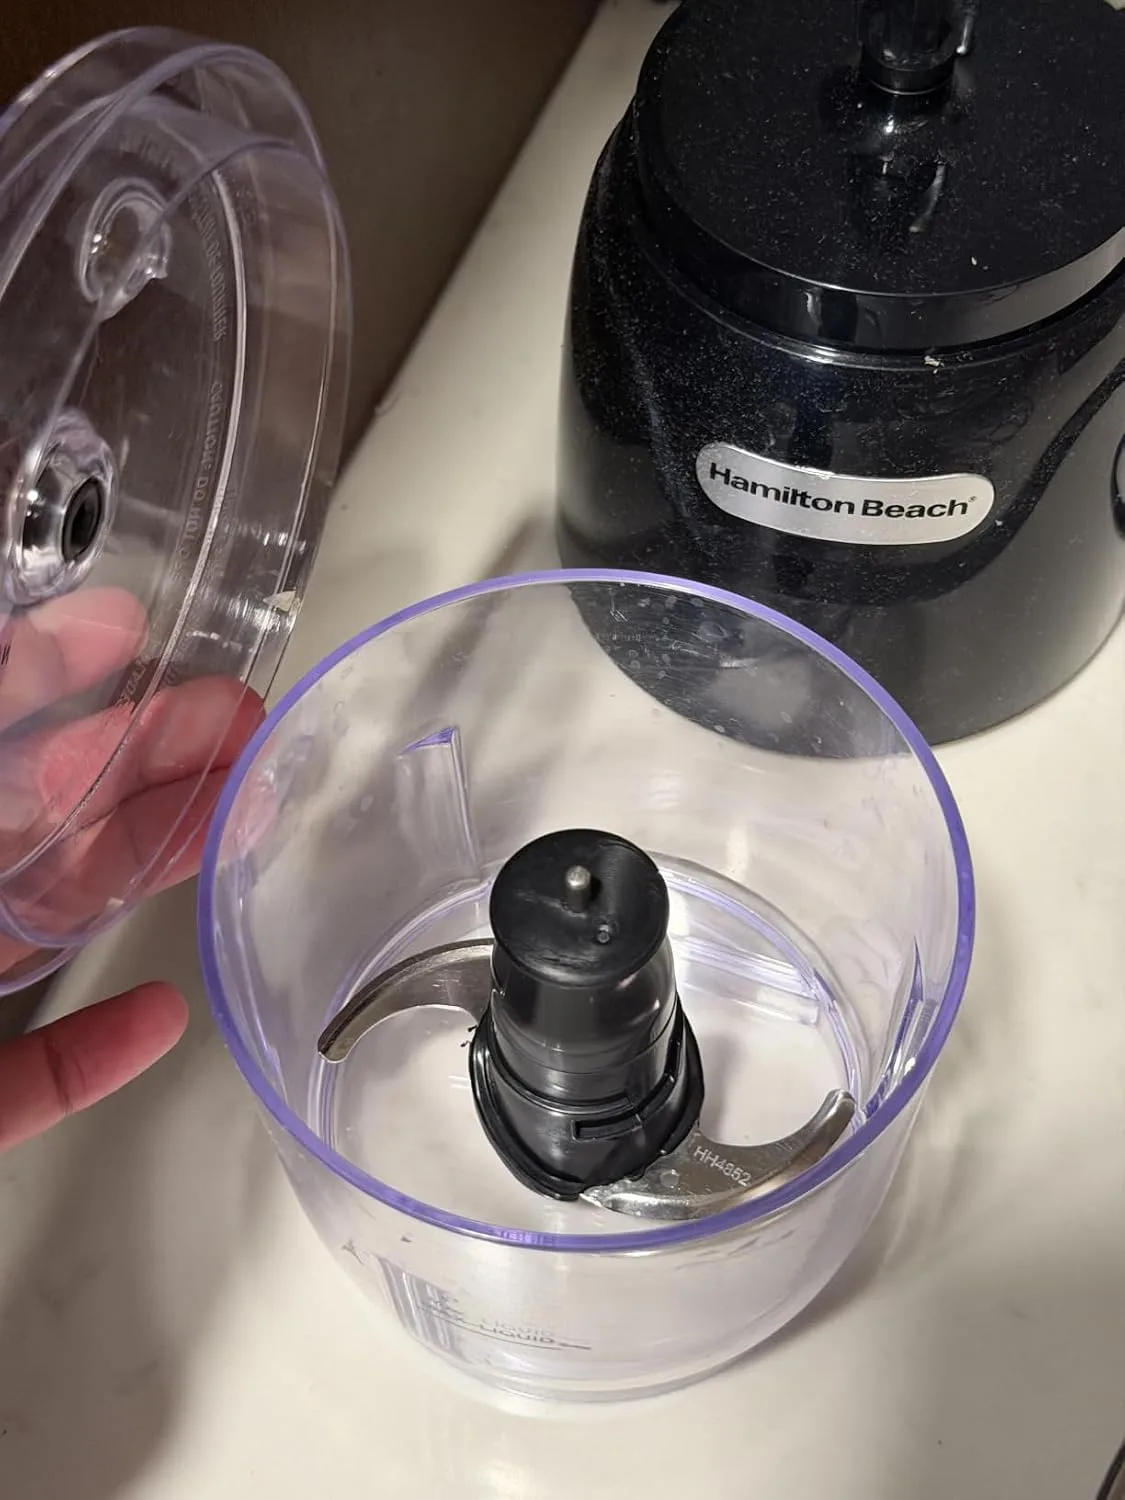
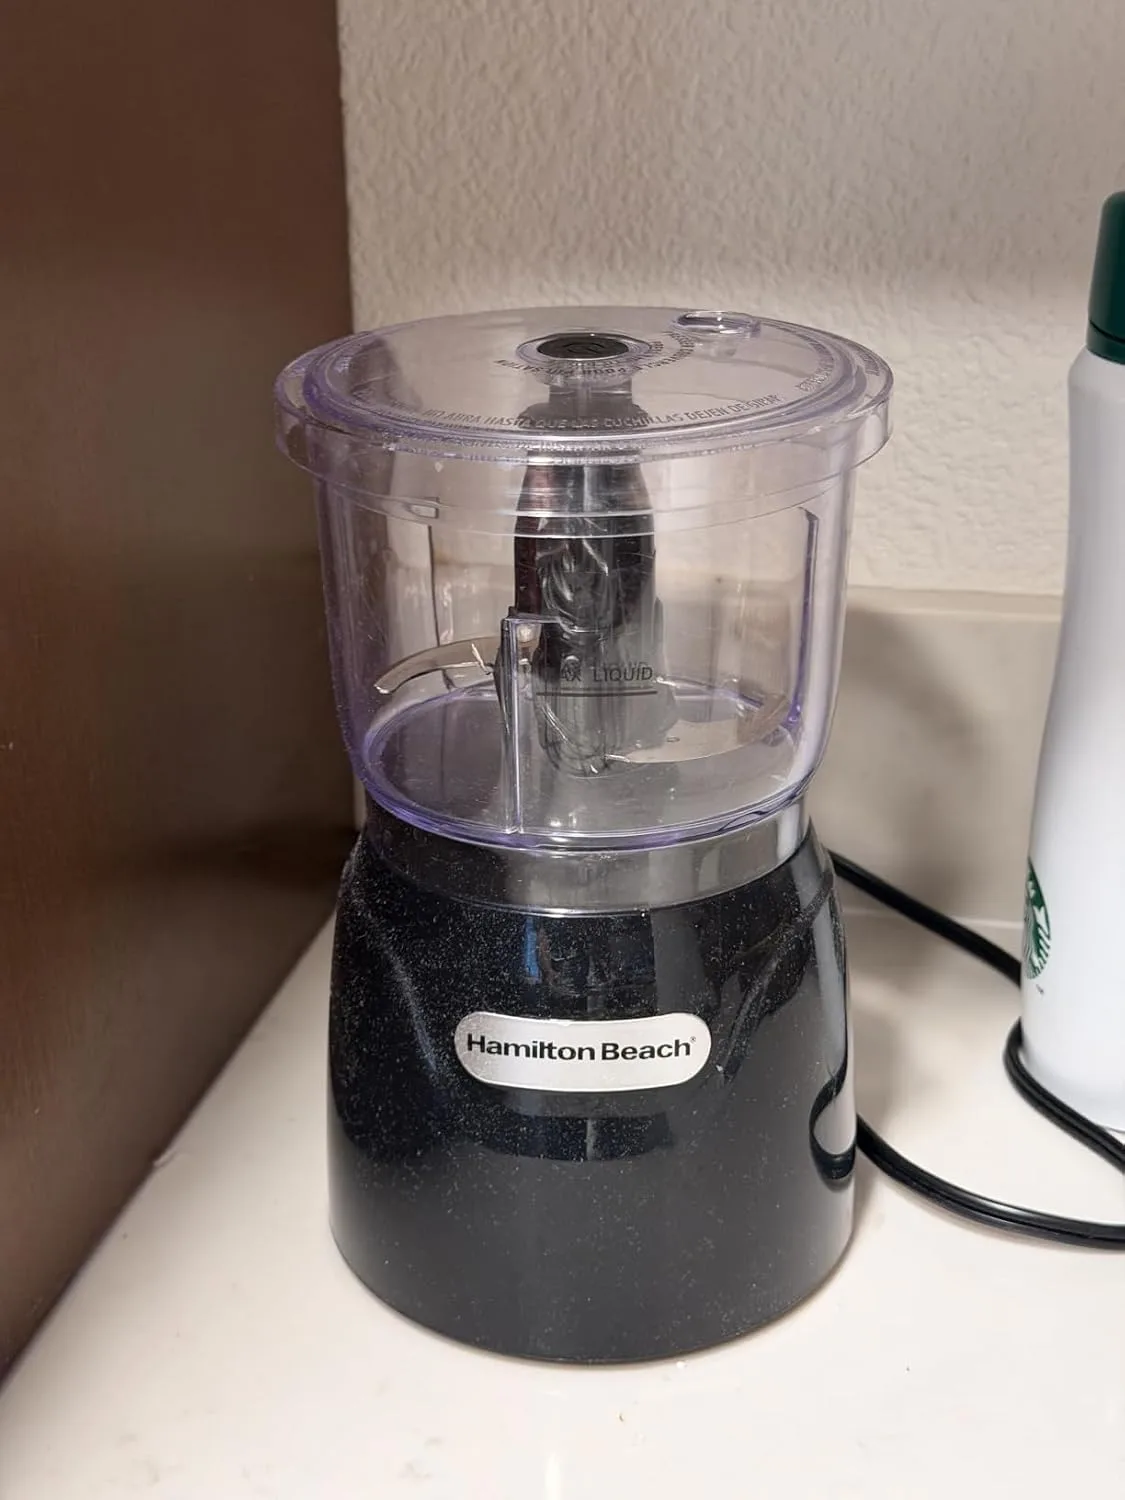
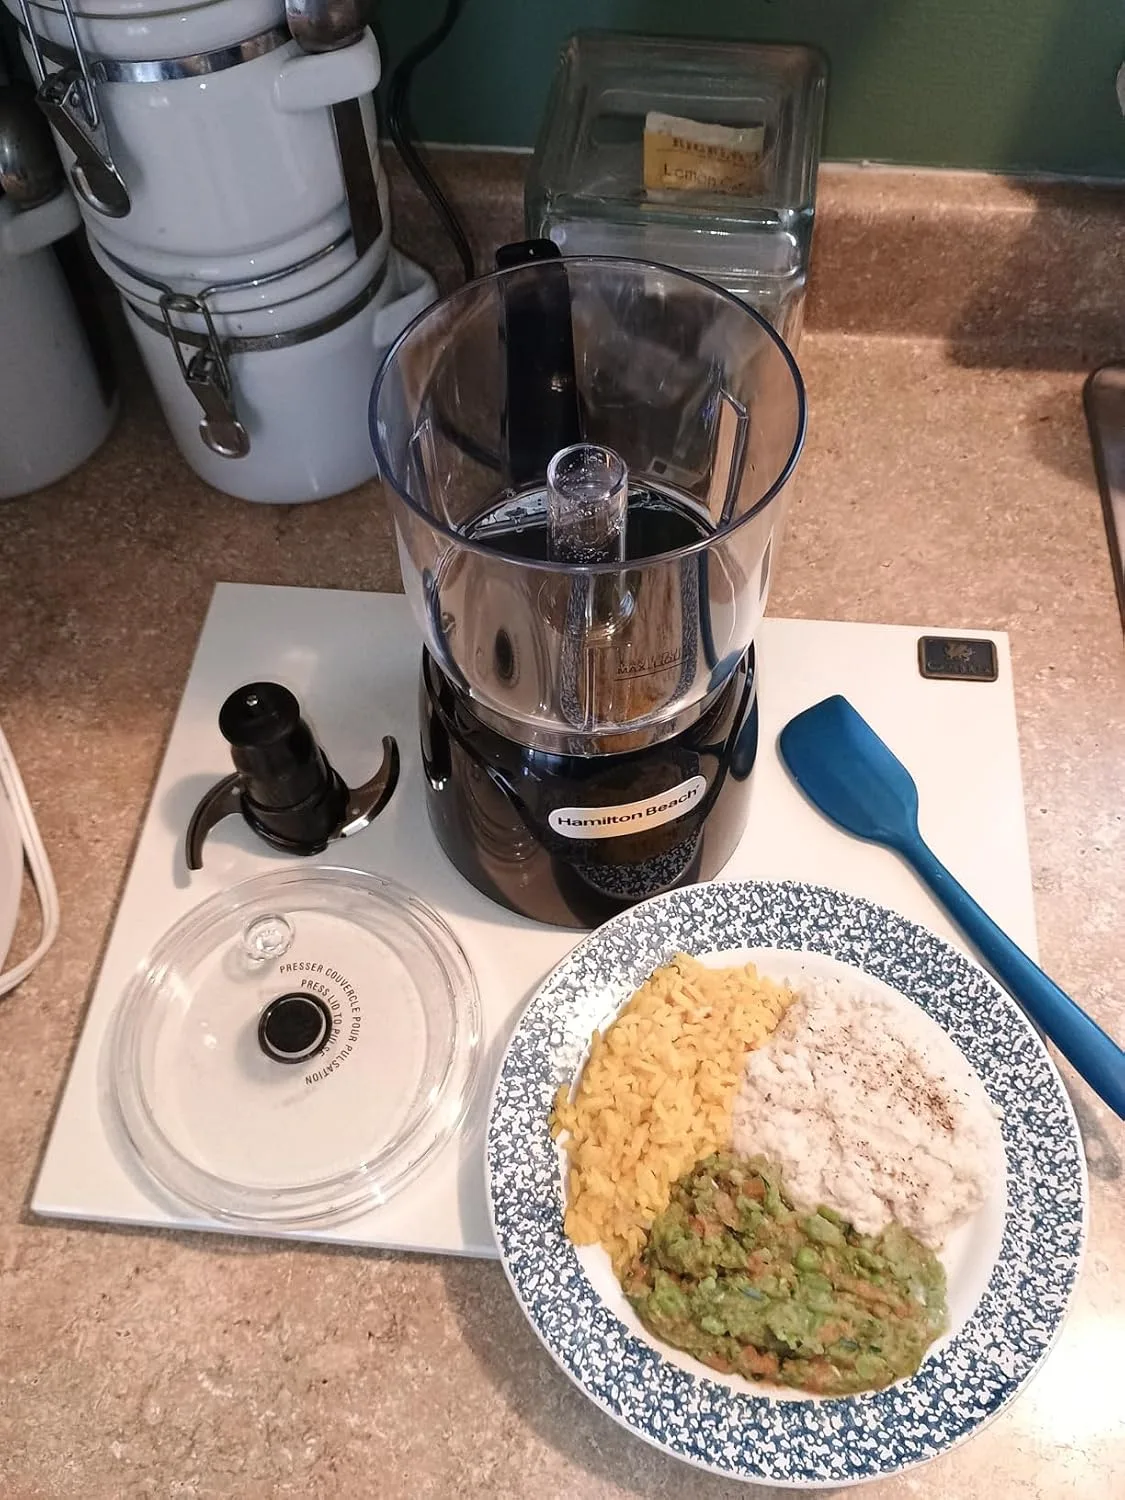
Hamilton Beach Electric Vegetable Chopper & Mini Food
I use this chopper every time I make this dip—it’s small enough to keep out and actually dishwasher-safe.
Check Price on Amazon →